
A wheel can look ready for paint after a quick wash and still fail within months. Brake dust hides in corners, old clear coat lifts at the bead, and oxidation starts wherever bare aluminum has been exposed. Knowing how to prepare aluminum wheels properly is what separates a durable refinish from a coating that chips, bubbles, or peels early.
Aluminum wheels need a controlled process. The metal is softer than steel, and aggressive blasting or poor cleaning can leave a rough profile, damage machined details, or create contamination problems that show up after the finish is applied. Whether the goal is paint, powder coating, polishing, or repair, surface preparation sets the standard for everything that follows.
Start With a Full Wheel Inspection
Preparation starts before any cleaning or media blasting. Remove the wheel from the vehicle and take off the tire whenever possible. A tire left in place prevents proper access to the bead area and makes it difficult to strip old coatings completely. It also leaves rubber, wheel weights, valve stems, and adhesive residue in the way.
Inspect both sides of the wheel in good light. Look for curb rash, cracks around spoke bases, bent lips, corrosion near the bead seat, and areas where the existing paint or clear coat is lifting. Cosmetic damage can usually be repaired before refinishing. Cracks and serious bends are different. Those need evaluation by a qualified wheel repair professional before the wheel goes back into service.
It also helps to identify the existing finish. Many aluminum wheels have a painted surface covered by clear coat. Others are powder coated, polished, machined, chrome plated, or fitted with plastic covers. Each requires a different removal method. A wheel with chrome plating, for example, may need specialized stripping rather than conventional abrasive blasting.
Remove Hardware, Residue, and Heavy Contamination
Before stripping a wheel, remove all parts that do not belong in the refinishing process. That includes wheel weights, valve stems, center caps, decorative inserts, and tire pressure monitoring sensors if applicable. Adhesive from wheel weights should be removed fully, not blasted over.
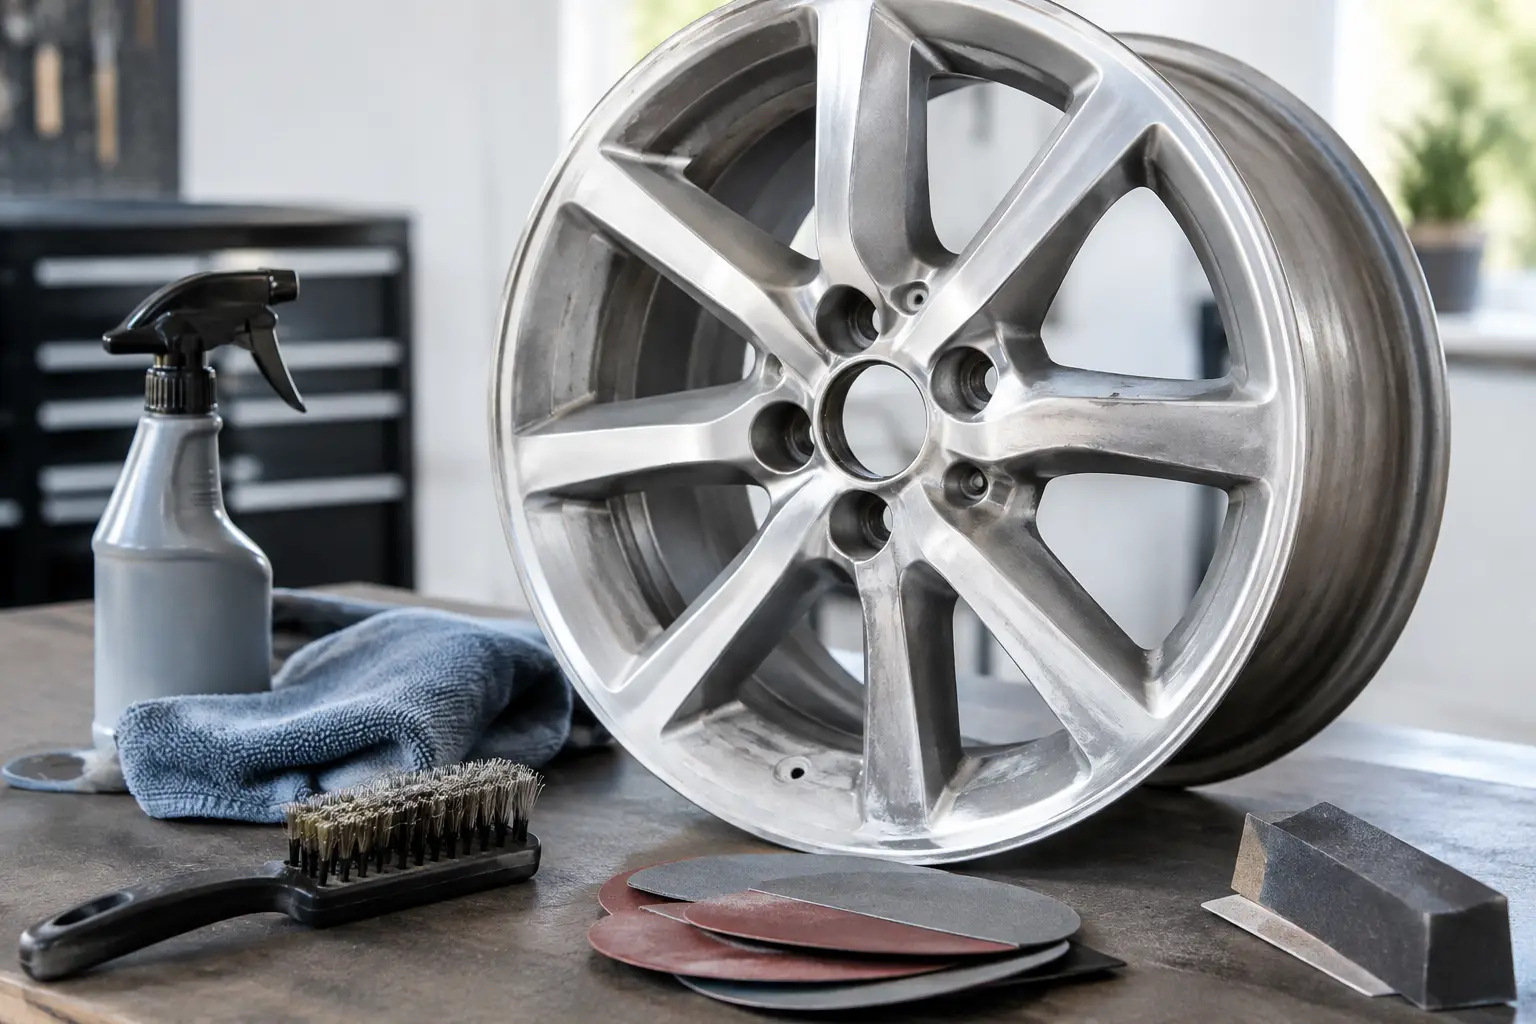
Next, wash the wheel with a product designed to cut road film, grease, and brake dust. Use a stiff nylon brush to work around lug holes, spoke junctions, and the inside barrel. Do not rely on water alone. Brake dust can contain metallic particles and oily residue that interfere with coatings and can contaminate blasting media.
Rinse thoroughly and dry the wheel completely. Compressed air is useful for clearing water from lug holes, seams, and tight areas behind spokes. Any remaining moisture can promote oxidation after coating removal, especially if the wheel sits for several hours before its next step.
If silicone-based tire shine, wax, or grease has been used on or around the wheel, a dedicated solvent wipe may be necessary after washing. Use clean lint-free cloths and change them often. Reusing a dirty rag simply moves contamination from one area to another.
Choose the Right Way to Strip the Old Finish
The safest stripping method depends on the wheel’s condition, coating type, and intended final finish. Chemical stripping can remove some paints and clear coats without changing the aluminum surface profile, but it requires careful handling, complete neutralization, and responsible disposal. It may not be the best answer for every coating or every wheel design.
Media blasting is often the practical option for removing corrosion, failed paint, and stubborn coatings, but aluminum requires the right abrasive and pressure. The objective is to clean the surface without cutting it up. Harsh media, excessive pressure, or a poorly controlled blast pattern can leave aluminum rough, pitted, or distorted in appearance.
For aluminum wheels, professionals commonly select media and settings based on the finish being removed and the coating that will follow. A finer abrasive may be suitable for cleaning and creating a light anchor profile for paint or powder coating. Less aggressive media may be chosen where preserving a smoother cast or machined appearance matters.
Avoid using ordinary sand as a default choice. Beyond the health hazards associated with silica dust, sand can be too aggressive for certain aluminum wheel applications. The correct process is not about using the strongest blast possible. It is about removing the unwanted material while preserving the wheel underneath.
Mask the Areas That Must Stay Protected
Masking is not optional when a wheel has surfaces that need to remain untouched. Protect the mounting face, lug seats, hub bore, threaded openings, and machined details as needed. These areas affect how the wheel seats against the vehicle and how hardware fits.
The bead seat deserves particular attention. A damaged or heavily textured bead area can make tire sealing more difficult. If the tire is already removed, it is easier to assess corrosion in this zone and decide whether cleaning, repair, or limited masking is appropriate.
A professional blasting provider can also help determine which areas should be protected based on the wheel design and final coating plan. Gorilla Sandblasting approaches aluminum work with the same principle used on other critical metal surfaces: remove what has failed, preserve what still matters.
Clean Up Corrosion and Surface Defects
Once the old coating is removed, aluminum often reveals more damage than expected. White or gray oxidation may be present beneath the paint, particularly around the rim edge and valve stem opening. Pitting can also appear where moisture sat under damaged clear coat.
Light oxidation can often be removed during the stripping process. Deeper pits may need sanding, filling with a compatible metal repair product, or professional machining, depending on their location and severity. Do not fill cracks or structural damage with cosmetic filler. A smooth appearance does not make a compromised wheel safe.
Curb rash should be repaired before final prep. Start by smoothing raised edges and damaged metal, then feather the repair into the surrounding surface. If body filler is used for a minor cosmetic repair, verify that it is suitable for the planned coating system and cure temperature. This matters especially for powder coating, where high oven temperatures can affect some repair materials.
After repairs, sand the affected areas so the surface transitions evenly. The required grit depends on the coating manufacturer’s instructions and whether the wheel will be painted, powder coated, or polished. In general, the finish should be even enough that sanding scratches, edges, and repair lines will not show through the final coating.
Final Cleaning Before Paint or Powder Coating
Freshly stripped aluminum begins oxidizing quickly. That does not always mean it will visibly corrode right away, but it does mean the best time to coat is soon after surface preparation. Avoid handling a cleaned wheel with bare hands. Skin oils can create adhesion problems, especially on spoke faces and outer lips where appearance matters most.
Blow off all dust with clean, dry air. Then use a compatible wax-and-grease remover or final-prep cleaner according to the coating system being applied. Wipe in one direction with clean cloths rather than scrubbing contamination around the wheel. Let the cleaner flash off completely before primer, paint, or powder is applied.
For a painted finish, an appropriate primer may be needed to promote adhesion and corrosion resistance on bare aluminum. Follow it with the recommended color and clear coat system. For powder coating, the wheel must be completely free of residue and dry before it enters the coating process. Powder coating can be highly durable, but it is not a cure for poor prep. Trapped contamination and missed corrosion will still cause failures.
If the wheel will be polished, the process is different. Blasting should be limited or selected carefully because the surface will require progressively finer sanding and polishing afterward. A polished wheel also needs protection, whether that is clear coating or regular maintenance, because bare polished aluminum can oxidize.
Common Mistakes When Preparing Aluminum Wheels
The most common mistake is treating aluminum like thick steel. Aluminum does not need an aggressive blast profile to accept a coating, and overblasting can create unnecessary finishing work. Another mistake is coating over brake dust, silicone, adhesive residue, or corrosion that was not completely removed.
Rushing the time between stripping and coating can also create problems in the opposite direction. The wheel should be coated promptly, but only after it is clean, dry, repaired, and inspected. Skipping masking is another expensive shortcut. Damage to lug seats, hub bores, or bead areas can affect fitment and tire service.
Finally, do not assume every wheel is a good candidate for refinishing. A wheel with major structural damage, severe corrosion around critical areas, or unknown repair history may need replacement instead. Appearance matters, but safety comes first.
A properly prepared aluminum wheel gives the new finish a clean, stable foundation. Take the time to inspect it, remove contamination, choose the right stripping method, and protect critical surfaces. The result is not just a better-looking wheel - it is a refinish built to hold up to road use, weather, brake dust, and regular cleaning.