
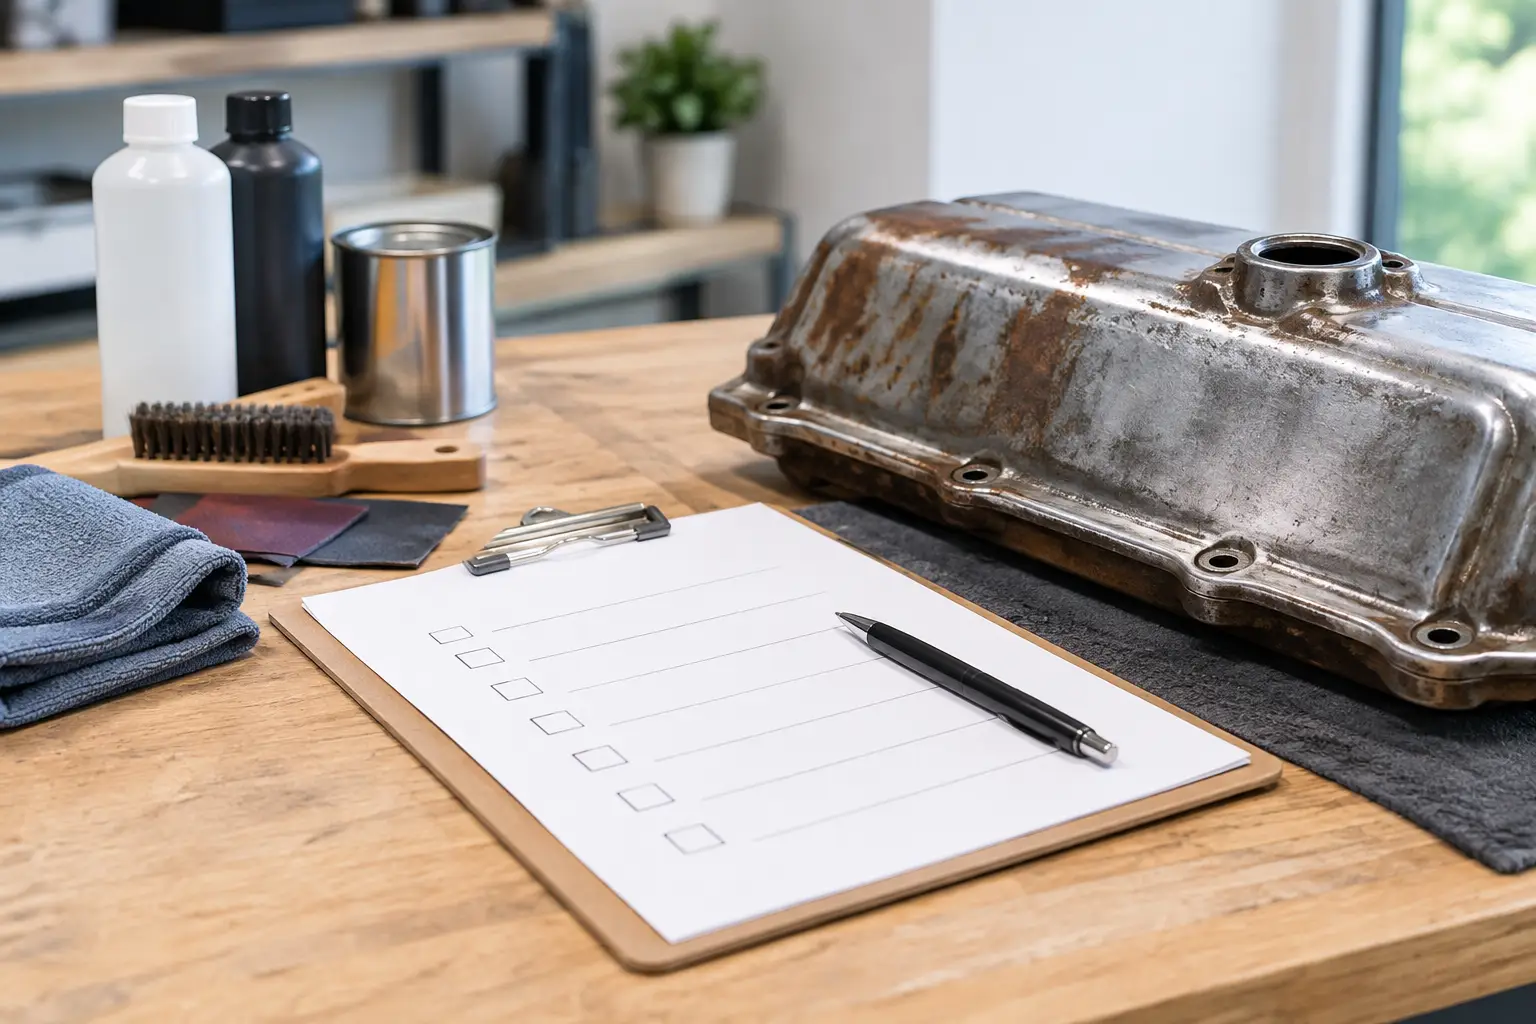
A trailer frame can look ready for paint after a quick wire-brush cleanup, then show rust again through the finish a few months later. That usually is not a paint problem. It is a preparation problem. This metal restoration project checklist helps you plan the work in the right order, from the first inspection through final coating, so your time and money go into a finish that lasts.
Start With the Purpose of the Restoration
Before choosing a blasting method, primer, or paint color, decide what the asset needs to do when the work is complete. A decorative gate, a work trailer, farm equipment, a structural steel component, and a vintage vehicle part may all be made of metal, but they face very different conditions.
Think about where the item will live and how it will be used. Is it exposed to road salt, coastal moisture, fertilizer, fuel, abrasion, or frequent washing? Will it sit outdoors year-round? Does it need a show-quality appearance, or does it need a durable protective coating that can handle daily work?
This decision affects every step that follows. A light-duty patio item may only need straightforward cleaning, a suitable primer, and a quality topcoat. A piece of commercial equipment with heavy corrosion may require blasting, metal repair, a corrosion-control primer, and a tougher coating system. Starting with the end use prevents overbuilding a simple project or underpreparing an asset that sees hard service.
Metal Restoration Project Checklist: Inspect Before You Strip
Do not assume every rough-looking surface needs the same treatment. A close inspection tells you whether you are dealing with surface rust, failing paint, heavy scale, pitting, previous repairs, or metal that has lost too much thickness to save.
Before restoration begins, check for these conditions:
- Loose paint, peeling coatings, rust blisters, and visible corrosion
- Deep pitting, holes, cracks, bent sections, and weak welds
- Oil, grease, silicone, fuel residue, or other contaminants
- Areas that may contain lead-based paint or other hazardous coatings
- Parts that need to be removed, masked, protected, or replaced
Take photos before disassembly or surface preparation. They provide a record of the condition and make reassembly easier, especially on equipment, railings, trailers, and older metalwork with brackets, hardware, or moving parts.
Inspection also helps you set a realistic budget. Blasting can reveal damage hidden beneath paint and rust. That is useful, but it can change the scope of the work. If the metal is thin, perforated, or structurally compromised, repair or replacement may be the better investment.
Identify the Metal and Existing Coating
Steel, aluminum, cast iron, galvanized metal, and stainless steel should not all be treated the same way. The blast media, pressure, cleaning method, and coating system need to match the substrate. Thin sheet metal, for example, can warp when handled aggressively. Galvanized surfaces need proper cleaning and compatible coating products to avoid adhesion problems.
If you do not know what coating is already on the surface, do not guess. Old industrial coatings, marine coatings, and painted equipment can contain materials that require additional safety controls. A professional assessment is the right move when the coating history is unclear or the job involves a large area.
Plan Surface Preparation Around the Finish
The finish is only as good as the surface beneath it. Paint needs a clean, stable surface with the right profile to bond correctly. Powder coating, epoxy systems, and specialty industrial coatings have their own preparation requirements, so choose the coating system early rather than treating it as an afterthought.
For minor oxidation, hand tools or mechanical sanding may be enough. For thicker rust, failing paint, mill scale, and hard-to-reach areas, abrasive blasting can remove the contamination much more evenly and efficiently. It also creates a surface profile that helps many coatings grip the metal.
Blasting is not automatically the answer to every item. Delicate parts, thin panels, sensitive components, and certain substrates may need lower-pressure blasting, a different media, or another cleaning approach. The goal is clean, sound metal without damaging the asset.
Degreasing comes before blasting when oil or grease is present. Blasting an oily surface can drive contamination into the metal or spread it across the work area. After blasting, keep freshly prepared metal clean. Fingerprints, moisture, dust, and shop contaminants can interfere with coating adhesion.
Schedule Repairs Before the Final Prep
Restoration often includes more than removing rust. Bent brackets need straightening. Cracked welds need repair. Corroded sections may need to be cut out and replaced. Hardware may need replacement, and moving parts may need to be rebuilt or protected from blast media.
Complete major welding, fabrication, and structural repairs before the final surface preparation whenever possible. Welding after blasting can introduce heat scale, spatter, and new contamination that must be cleaned again. It also creates extra prep work around the repair area.
There are exceptions. Sometimes blasting first is the best way to expose the true condition of the metal and identify what needs repair. In that case, plan for a second, targeted prep step after fabrication is complete. It is more efficient than coating over hidden damage and finding out later that the repair was not enough.
Control Moisture, Dust, and Timing
Freshly blasted steel can begin to flash rust quickly in humid conditions. The timing between blasting and priming matters. If the metal sits too long, the surface may need to be cleaned or blasted again before coating.
Have the primer, tools, masking materials, and work area ready before surface preparation starts. Check the coating manufacturer's temperature and humidity requirements, then work within those limits. Cold metal, condensation, rain, and high humidity can all affect adhesion and cure time.
A clean project area matters as much as the weather. Keep sanding dust, grinding debris, overspray, and foot traffic away from prepared surfaces. If parts must be moved after blasting, handle them with clean gloves and support them carefully to avoid scratching or contaminating the metal.
Choose a Coating System, Not Just a Paint Color
A good coating plan includes primer, topcoat, and the correct film thickness for the job. Bare steel usually benefits from a corrosion-resistant primer before the finish coat. Equipment that sees abrasion, chemicals, or regular outdoor exposure may need a higher-performance system than standard hardware-store paint.
Consider whether the surface needs brush application, spray application, powder coating, or a specialty protective coating. Each option has trade-offs. Brush-applied coatings can work well for repairs and complicated shapes, but may not provide the same smooth appearance as spraying. Powder coating can be durable and attractive, but the part must fit the curing process and be properly prepared beforehand.
Do not forget edges, welds, corners, bolt holes, and underside surfaces. These are common failure points because they are easy to miss and often collect moisture. A careful coating application puts extra attention on the places where corrosion starts first.
Protect the Work Area and the People in It
Metal restoration creates dust, noise, sharp edges, and potentially hazardous debris. Set up the project with containment and cleanup in mind. Nearby vehicles, windows, landscaping, finished surfaces, and neighboring work areas may need protection from abrasive media and coating overspray.
Use appropriate personal protective equipment for the task, including eye protection, hearing protection, gloves, respiratory protection, and suitable clothing. Requirements change based on the media, coating, equipment, and contaminants involved. If lead paint, unknown coatings, or significant airborne dust may be present, bring in qualified professionals rather than treating the work like a basic weekend cleanup.
For larger restoration work, professional blasting can save time while providing a more consistent surface for the coating stage. Gorilla Sandblasting helps remove corrosion, paint, scale, and surface contamination so repairs and finishes start on clean metal.
Inspect the Finish Before Reassembly
Before reinstalling hardware or putting equipment back into service, inspect the completed work under good lighting. Look for missed rust, thin coating areas, runs, pinholes, exposed edges, and spots where masking may have pulled away fresh paint.
Allow the coating to cure fully before heavy handling or use. Dry to the touch does not always mean ready for service. Reinstall parts carefully, use compatible fasteners where possible, and avoid scratching the finish during assembly.
The best time to make a correction is before the asset goes back outside, returns to the jobsite, or gets loaded for transport. A final close look now can prevent a small missed spot from becoming the first place rust returns.